












The do-it-yourself (DIY) movement has continued to grow in popularity, as more and more people look for ways to refresh their homes with a personal touch. One of the most impactful home improvement projects you can undertake yourself is installing new flooring. The right flooring can enhance your living space and even increase property value. But how easy is it to do on your own? Below is some general advice on how to install fresh new flooring and achieve professional-looking results at a fraction of the cost.
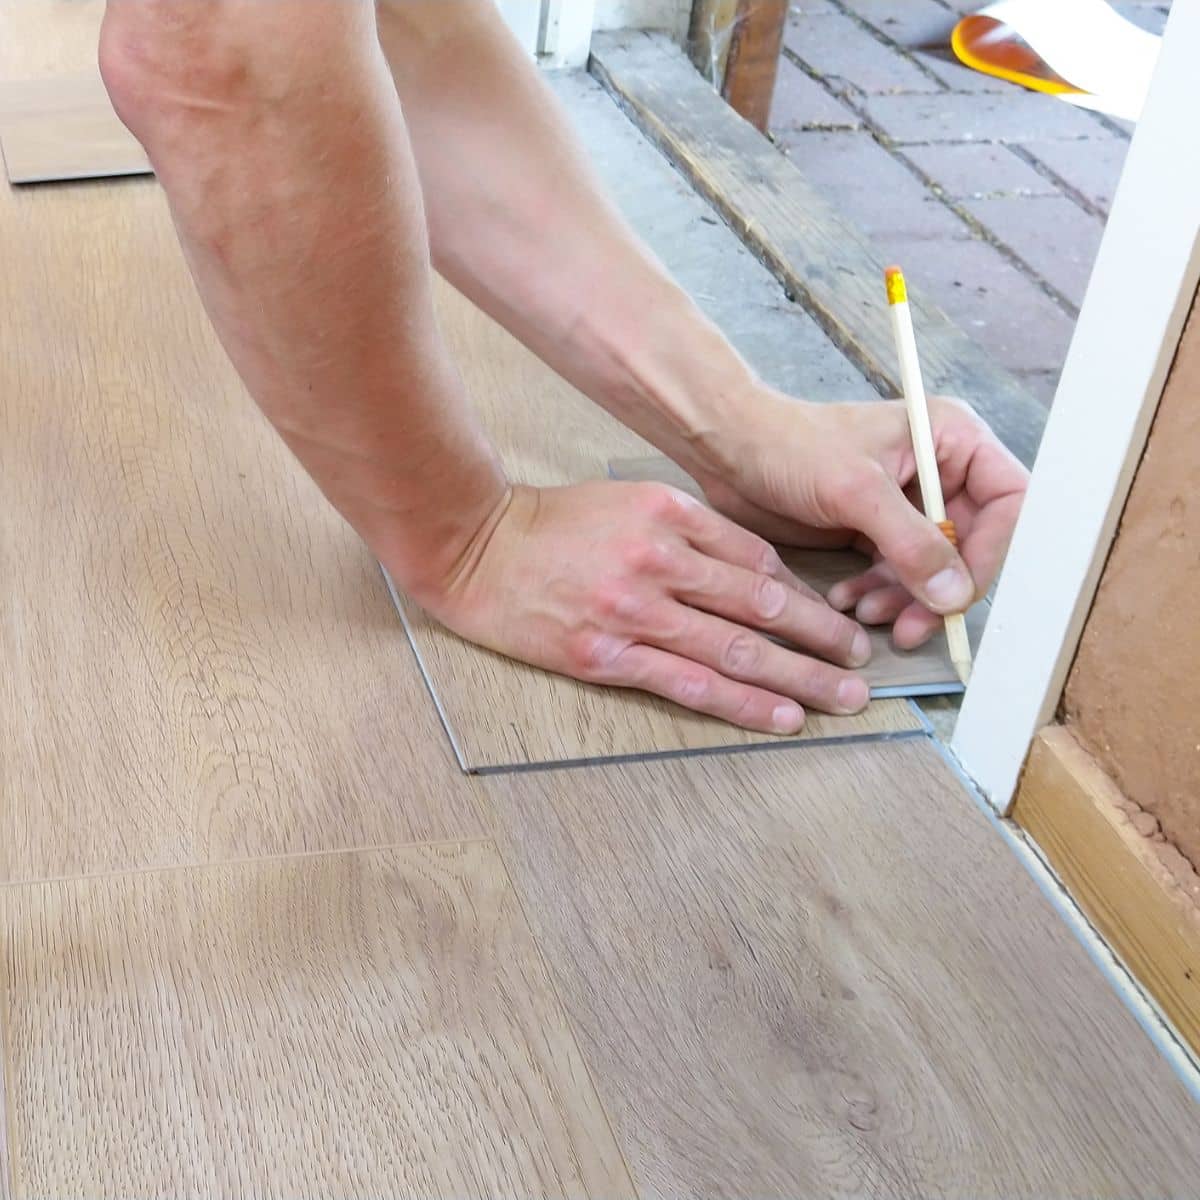
1. Consider Your Flooring Choice
The first step is deciding which type of flooring best suits your needs:
- Lifestyle & Durability: If you have a busy household with children or pets, look for materials that are scratch-resistant, water-resistant, or easy to clean (e.g., laminate, vinyl, or hard-wearing carpet).
- DIY Difficulty Level: Some flooring types are more beginner-friendly than others. Laminate and vinyl planks often have interlocking designs that can be easier for novices to install. Carpet can also be manageable with the right tools and preparation. Solid wood might require more advanced DIY skills due to its need for precise fitting and possible subfloor adjustments.
- Budget & Style: Different flooring materials come with different price points and aesthetic options. Weigh factors such as long-term durability, ease of maintenance, and appearance against your budget.
2. Prepare Thoroughly
Accurate measurements and good planning are crucial for a successful installation:
- Measure Carefully
- Use a tape measure to determine the length and width of each room where you plan to install new flooring.
- Multiply the length by the width to get the total square footage or square meterage.
- Add an extra 10% to account for any mistakes, offcuts, or wastage.
- Gather Your Tools
- Depending on the flooring type, you might need a utility knife, saw, spacers, adhesive, trowel, or specific safety equipment such as gloves and knee pads.
- To keep costs down, consider borrowing or renting tools if you don’t already own them.
3. Get Your Subfloor Ready
A smooth, level subfloor is essential for professional-looking results:
- Remove Old Flooring: Pull up any previous flooring materials and examine the subfloor for imperfections.
- Check for Damage: Fix cracks or fill gaps with a suitable filler. Remove nails, staples, or debris.
- Ensure It’s Level: If the subfloor is uneven, consider using a self-leveling compound or install an appropriate underlayment to create a flat surface.
- Clean & Dry: The subfloor must be thoroughly clean and dry before you start laying down new materials.
4. Know Your Installation Method
Different flooring materials may require different installation techniques:
- Floating Floors (Laminate or Engineered Wood): Often use a tongue-and-groove or click-lock system. Planks “float” above the subfloor rather than being glued or nailed down.
- Glue-Down (Vinyl or Some Wood Floors): Requires adhesive and careful placement to avoid air bubbles or gaps.
- Nail/Staple-Down (Hardwood): Planks are nailed or stapled directly to the subfloor or to underlayment.
- Stretch Fit (Carpet): Carpet is stretched into place over a layer of underlay and fixed to gripper rods around the edges.
Always follow the manufacturer’s specific guidelines for best results. Some materials, like solid wood, may need to acclimate to the room’s temperature and humidity for several days before installation.
5. Take Advantage of Tutorials & Resources
There is a wealth of free information available to help you learn flooring installation techniques:
- Online Videos & Guides: Many DIY and home improvement websites offer step-by-step tutorials. These can walk you through everything from preparing subfloors to cutting tricky corner pieces.
- Local Workshops: Some community centers or hardware stores occasionally hold demonstrations or workshops on home improvement projects.
- Manufacturer Instructions: Check the documentation provided by the flooring brand for any unique requirements, especially regarding adhesives or finishing.
6. Plan Your Approach
When you’re ready to lay the flooring, it’s important to have a clear plan:
- Starting Point: Some installers recommend starting from the center of the room to ensure a balanced layout, especially with patterned flooring. Others start along the longest wall. Whichever method you choose, be consistent.
- Allow for Expansion Gaps: Many flooring materials (particularly wood and laminate) can expand or contract with temperature changes. Be sure to leave a gap around the perimeter of the room to accommodate this.
- Work Methodically: Install one row or section at a time, checking alignment and using spacers where needed. A consistent approach helps maintain a straight, even layout.
7. Finishing Touches
Once the flooring is laid:
- Trim & Thresholds: Install any trim or baseboards to cover expansion gaps and give a clean, finished look. Fit threshold strips or transition pieces between different flooring types or adjacent rooms.
- Cleaning & Maintenance: Gently clean your new floors, following the recommended care instructions. This might mean sweeping, vacuuming, or using cleaning solutions specifically designed for your chosen material.
Extra Tips for Success
- Safety First: Always wear appropriate protective gear (like goggles, gloves, and knee pads) to avoid injuries from cutting tools or heavy materials.
- Practice Makes Perfect: If you’re unsure about cutting or installing a new material, practice on spare pieces before tackling the main floor.
- Don’t Rush: Take your time to measure, plan, and install carefully. Rushing can lead to mistakes that might be costly to fix.
Final Thoughts
Installing new flooring yourself can be an empowering and budget-friendly way to update your home’s interior. With the right preparation, tools, and guidance, even a DIY novice can achieve a professional-looking finish. By researching the best materials for your needs, accurately measuring your space, and following proper installation steps, you can transform your living area and add lasting value to your property.






Comments
No Comments